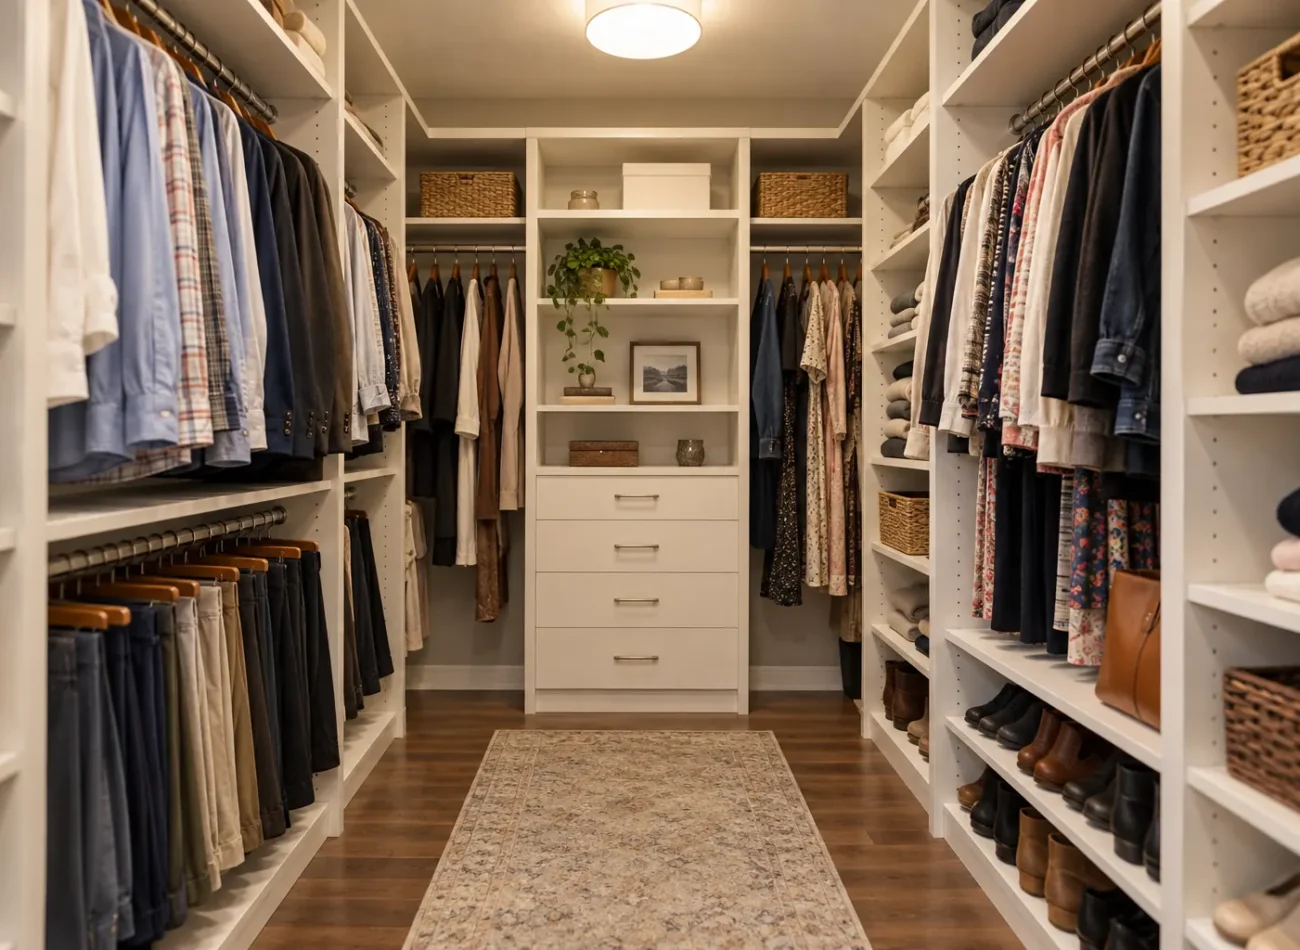
Record the room before drawing storage
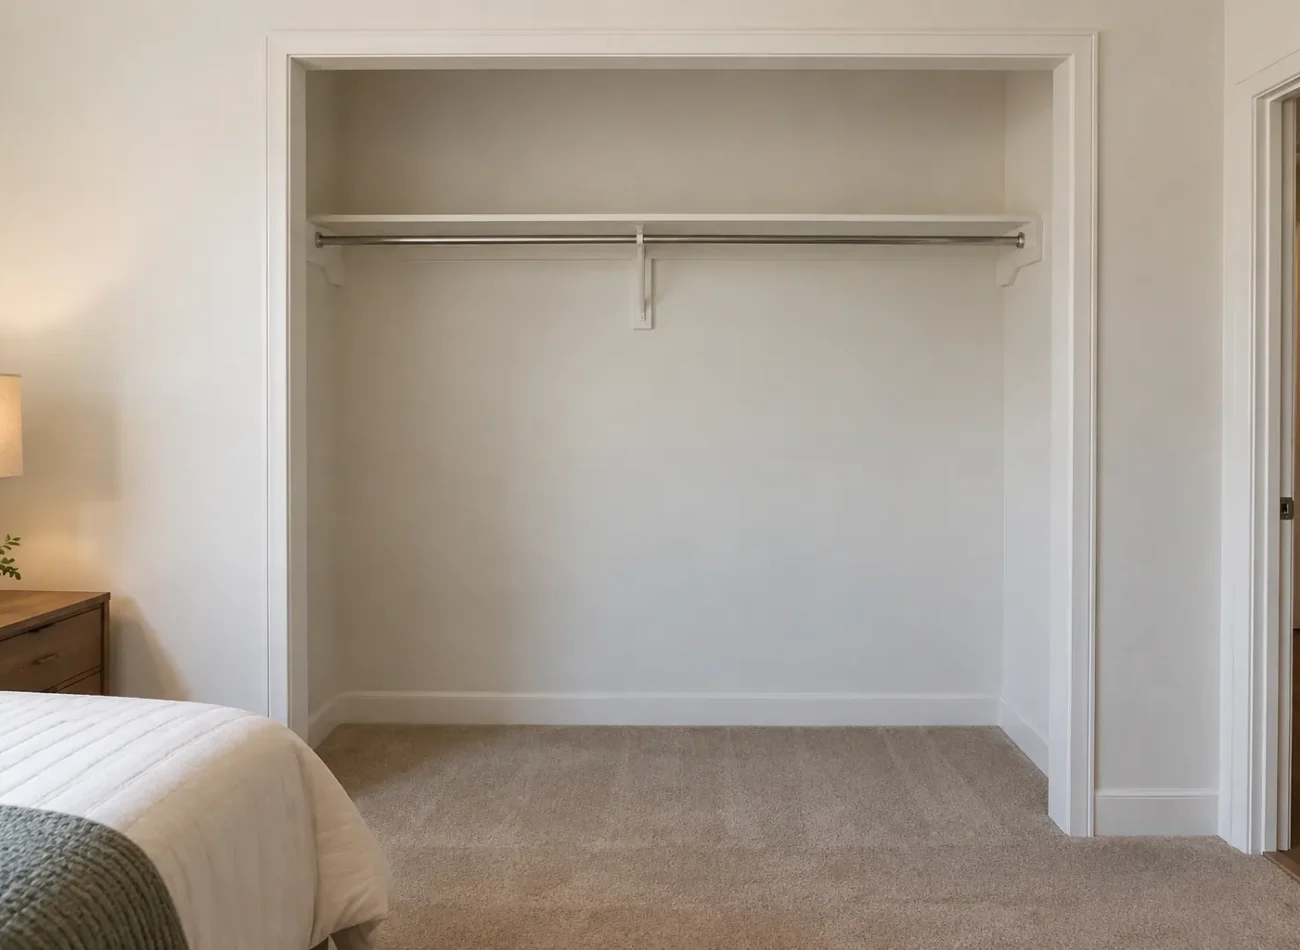
Measure each wall at several points and note the ceiling height, door position, swing, trim, windows, vents, outlets and any sloped or awkward areas. A sketch with the doorway marked is more useful than a single overall room dimension. Photograph every wall and the view from the entry. Check whether the room is used only for storage or also for dressing, mirrors or seating. The floor area that must remain clear is a design input, not leftover space after cabinets are drawn.
Do a clothing inventory. Count groups of short hanging, long hanging, folded items, shoes and bags. Identify which person uses each category if the walk-in is shared. These counts need not be perfect, but they should prevent an arbitrary design with symmetrical sections that do not match real wardrobes. Consider what belongs in the room and what can live in a hall, linen or seasonal storage location.
Choose a layout that suits usable width
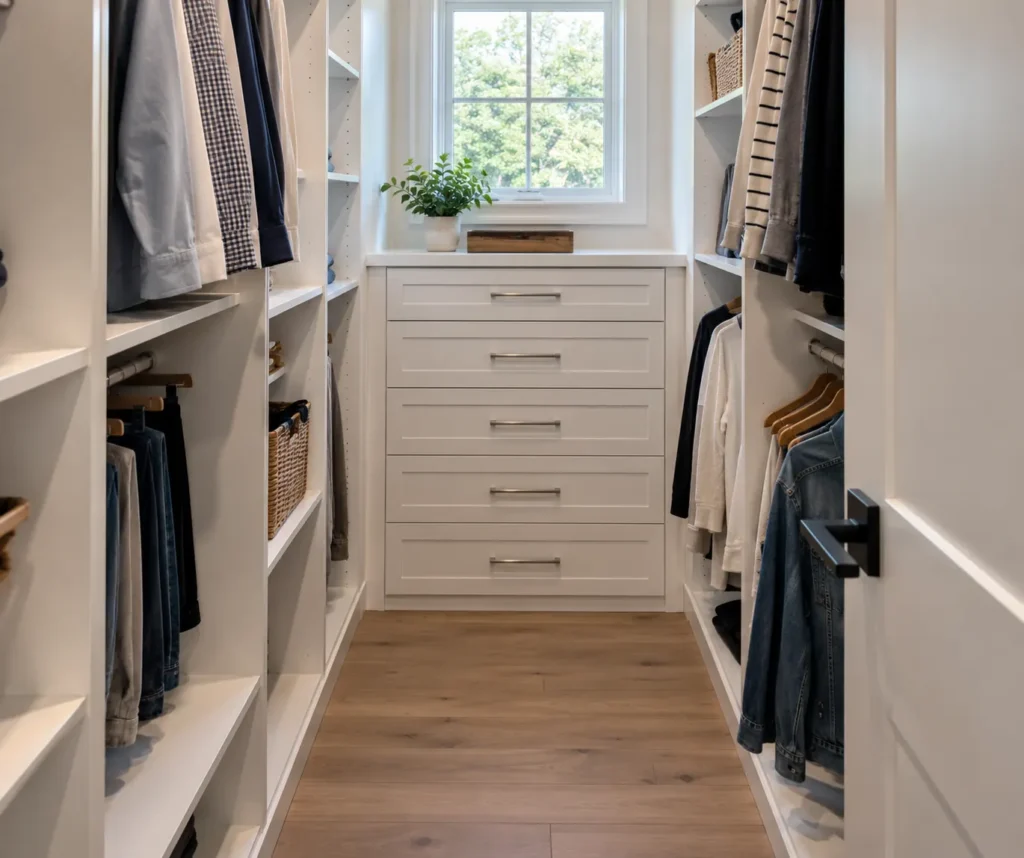
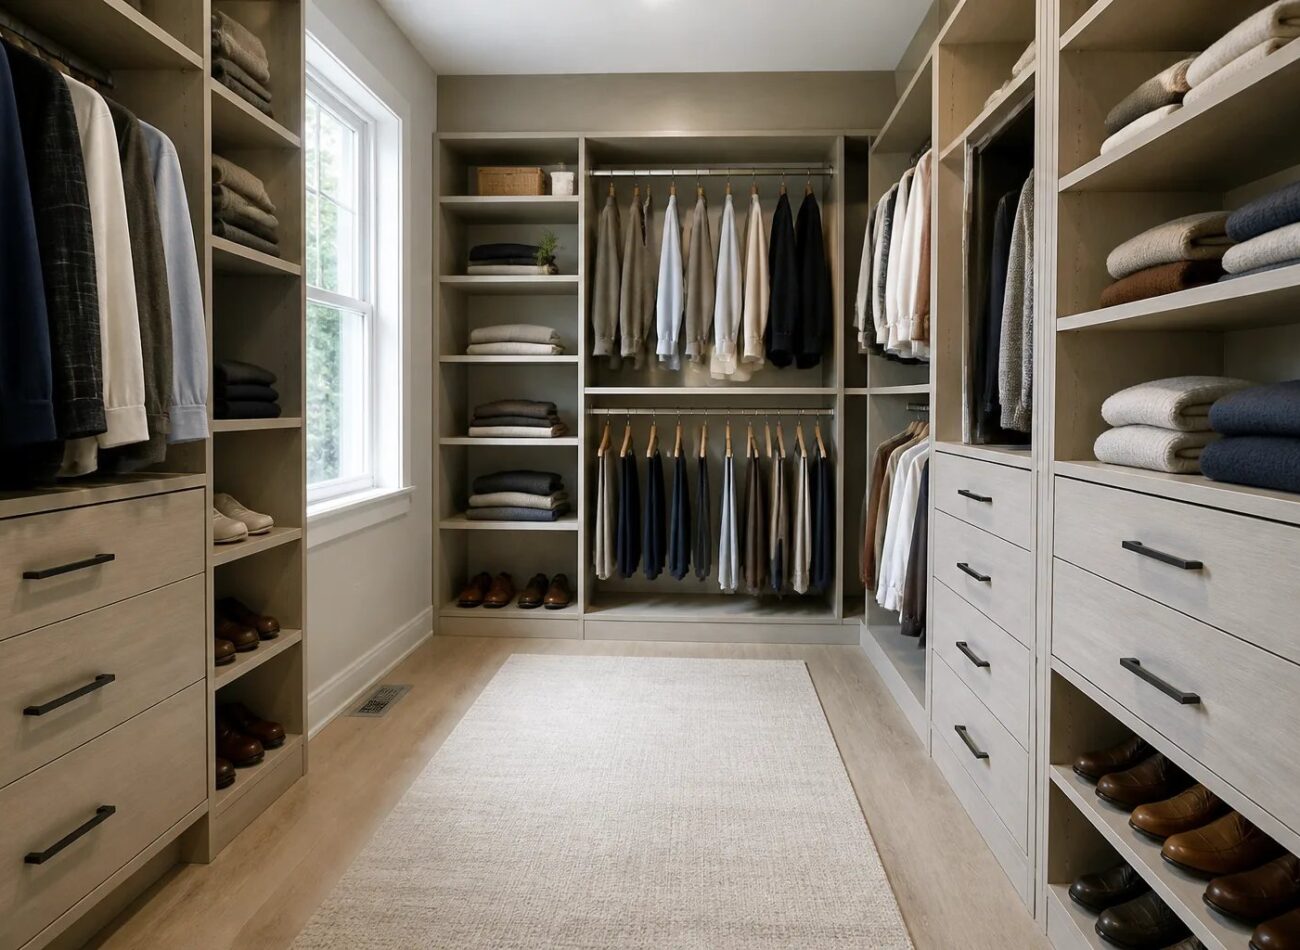
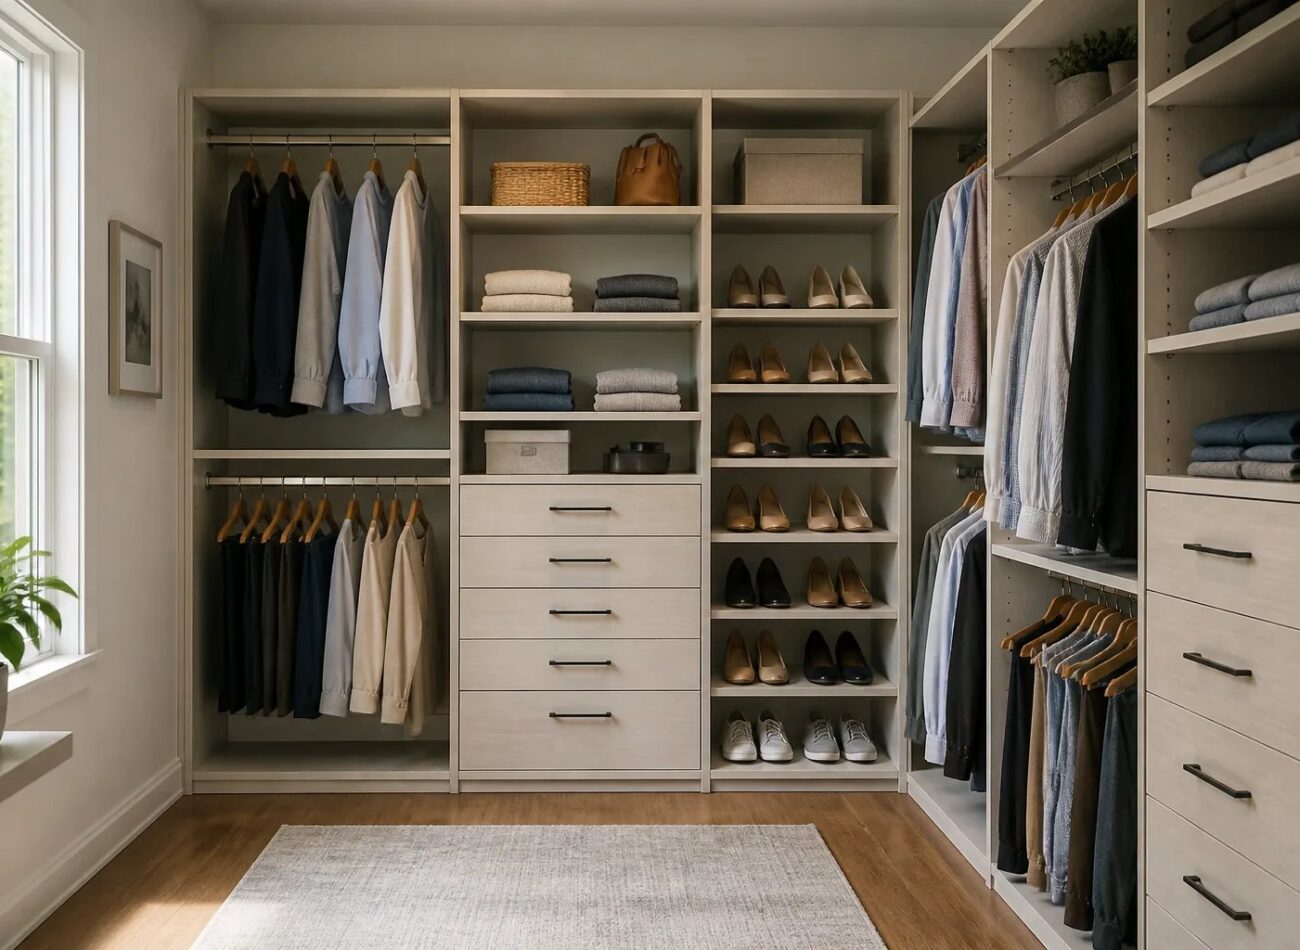
A single-wall scheme works when the room is narrow or the other side needs to stay open for circulation. It can still combine double hanging, one long-hanging bay, drawers and shelves. An L-shaped arrangement uses a second wall, but the corner must be treated deliberately; a hard-to-reach corner is not automatically valuable. A U-shaped plan can increase storage in a wider walk-in, though deep cabinetry on opposing walls can make the aisle feel constrained.
Test the deepest proposed components against the actual passage. The right clearance depends on the person, the door and what opens into that aisle, so avoid assuming that a generic online diagram fits the room. Stand in the space with a tape measure and imagine a drawer extended, another person passing or a laundry basket being carried in. If these actions become awkward, remove or shallow a component instead of accepting a plan that only looks full on paper.
Allocate hanging by garment length
Separate items that need full vertical hanging from shirts, jackets and other shorter garments. Double hanging is efficient where two tiers are genuinely usable. Long hanging needs uninterrupted height and often belongs in a dedicated bay rather than under a shelf set too low. Put the most frequently worn clothes where they can be seen and reached without stepping around a corner. Hang groups by use rather than creating ornamental symmetry that makes morning routines less direct.
Measure a selection of the homeowner’s actual clothes on hangers. Garment length and hanger projection vary; the design should accommodate the pieces it is intended to hold. If long garments form only a small part of the wardrobe, do not devote half the room to long hanging. Conversely, two tiers everywhere will force longer clothing to bunch. Review the proposed mix against the inventory before confirming the layout.
Place drawers where they open fully
Drawers are valuable for smaller clothing, accessories and items that should be concealed, but they require clear space in front of them. A drawer bank behind an inward-swinging door, next to a bench or across a narrow aisle may perform poorly even if its elevation looks attractive. Choose a location where the user can stand, pull a drawer out and see inside. Think about drawer height and category: deep bins can swallow small items, while several shallow drawers increase complexity without always improving capacity.
In a shared walk-in, each person may benefit from clearly assigned drawer space, but the quantities need not be identical. A central drawer tower can organize the room, while a tower at the end of a narrow aisle may create a bottleneck. If the closet is compact, consider whether a lower drawer count with better shelves and hanging gives more usable space. Access should justify every drawer included in the design.
Keep shoes and bags visible without sacrificing the aisle
Shoe storage can be flat shelves, angled shelves or a combination with boxes and taller boot space. The choice should follow the number and types of shoes, not a showroom image. Rows that are too deep hide pairs at the back. Rows that are too high for everyday shoes become inconvenient. Reserve convenient locations for frequently used footwear, and place occasional pairs higher or elsewhere. Allow taller clearances where boots need them.
Handbags and larger accessories may need open shelves, enclosed sections or hooks depending on their size and how often they are used. An island with display storage should be considered only if the room leaves generous space around it and still accommodates drawer operation and two-person use. In many Milton homes, a clear centre is the stronger choice. A dressing room can include seating, a vanity or an island when the scale genuinely permits.
Treat corners, uppers and awkward surfaces carefully
Corners may be suited to hanging, open shelving or a deliberately accessible transition. Avoid creating a pocket where things disappear behind another unit. Upper storage is useful for seasonal textiles and less frequent items, provided the user can reach it safely when needed. It should not be the home for everyday shoes or clothing simply because the lower zones were consumed by decorative features.
Windows, access panels, vents and outlets should be recorded before a run is designed. A window can interrupt storage and provide useful light; do not cover it casually. Existing trim and baseboards affect how a unit meets the wall. Ceiling height may suggest upper cabinets or a clean stop below the ceiling. Both approaches can work if the decision is deliberate and the finish is resolved.
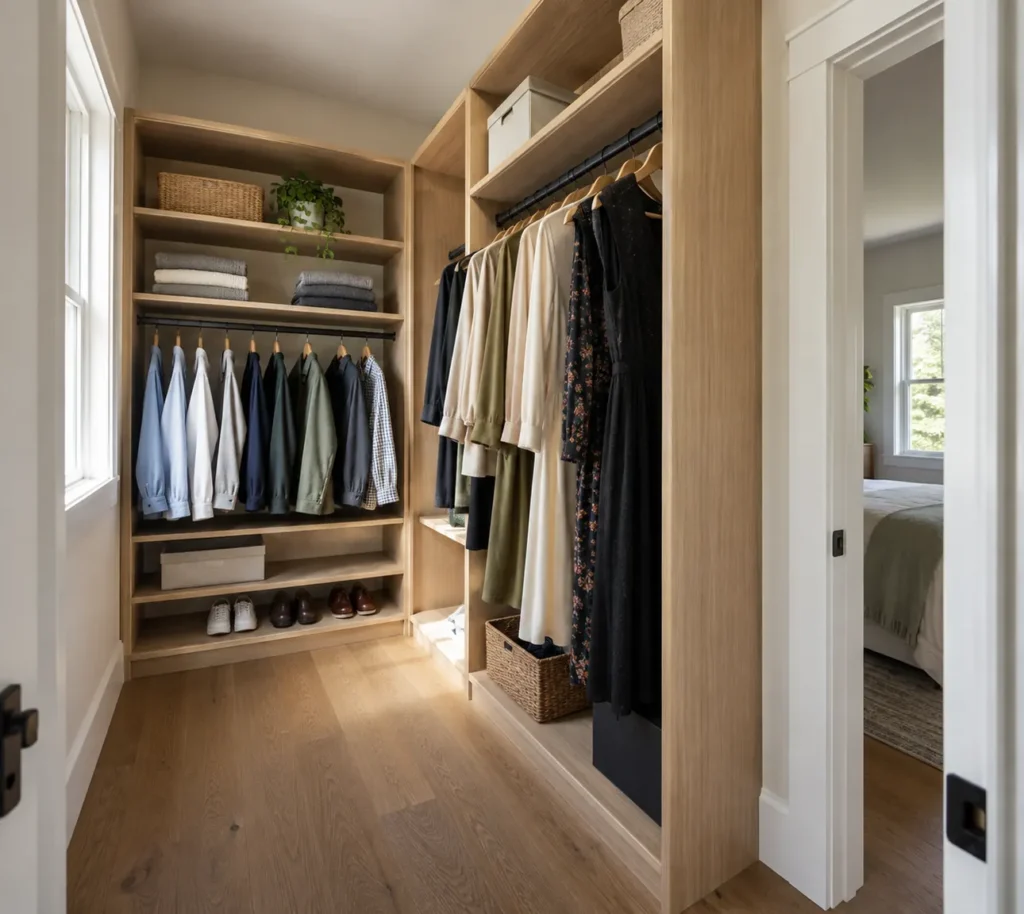
Plan the entry, doors, mirror and lighting relationship
Walk-in entrances vary: some have a swinging door, some have a pocket or sliding door, and some are open to a bedroom or dressing zone. Mark the actual door swing and hardware so they do not conflict with drawers or hooks. Consider what is visible on entering. An orderly view can come from a well-proportioned mix of open and closed storage without covering every wall with fronts.
Place a mirror where there is enough standing distance to use it, where the light is useful and where it does not obstruct access. Ambient room lighting and task lighting should help people see colours and shelf contents. If adding or modifying electrical fixtures is desired, determine that scope separately; a storage plan should not imply that electrical work is automatically included. The design may reserve practical space for future lighting coordination.
Shared walk-ins need routines as well as equal space
Two people may have different proportions of hanging, folded clothing, shoes and accessories. Giving each an equal number of identical bays can be unfair to both wardrobes. Define personal zones, shared upper storage and any common accessories, then test the paths people take in the morning. If both need the same narrow corner or doorway at the same time, adjust the allocation. One person’s drawers beside the entrance and the other’s hanging farther in may work better than exact mirror images.
Plan for ordinary use: a laundry hamper needs access, clothes need room to be put away, and a frequently used item should be found without moving several others. Consider whether laundry, linens or sports gear are occupying prime bedroom storage because another room lacks a functional system. Our whole-home planning guide can help decide what should leave the closet entirely.
Leave room for maintenance and change
A walk-in should be practical to clean and adjust. Tiny floor gaps behind an island or deep corners can collect items rather than organize them. Consider how shelves will be wiped and how a lower drawer can be accessed. Open lower zones may be preferable for certain bulky items; closed fronts can quiet areas that otherwise look crowded. Neither approach should make it difficult to see what is stored.
Wardrobes evolve. The design can reserve adjustable shelves for folded categories that change, while stable hanging zones hold core garments. If a household may later use the room differently, avoid highly specific compartments everywhere. Discuss what elements can move and which are fixed before approving the build. This makes the investment more resilient without sacrificing a well-composed interior today.
Check proportions before selecting finishes
Finish samples and hardware matter, but they cannot fix a narrow aisle or misplaced drawers. Review the plan at scale before choosing colours. Mark the usable centre of the room, door and drawer arcs, and the height of everyday storage. A taped outline on the floor can help you understand whether a proposed island, bench or opposing cabinet feels comfortable.
After the layout works, coordinate visible finishes with the adjacent bedroom, flooring and trim. A light finish can make the room feel open, while a deeper tone can work well when the space and lighting support it. The selection should fit the home and be easy to maintain. See materials and finishes after the circulation decisions are settled.
Evaluate the drawing with everyday tasks
Before approving a layout, trace a normal sequence: enter, reach daily clothing, open drawers, view shoes, use a mirror and leave without doubling back. Then repeat while another person is present. Confirm that doors and drawers can open together where needed. Check shelf depth, hanging reach and where a basket would sit. The test is more informative than an image of perfectly arranged clothing.
If the first version feels crowded, revise it. Reduce depth on one wall, shift a drawer tower, reserve a longer clear aisle, or use only two walls. The walk-in, reach-in and wardrobe comparison may also clarify whether the room is serving the right purpose. To plan a Milton walk-in around your measurements and belongings, request a design conversation with photographs and a brief storage inventory.