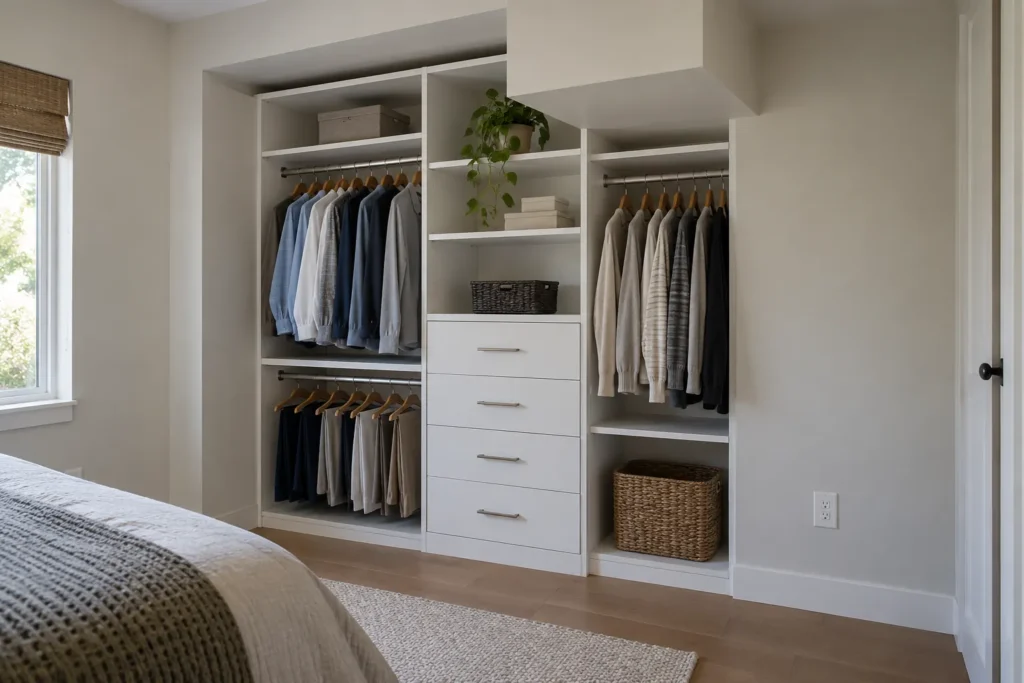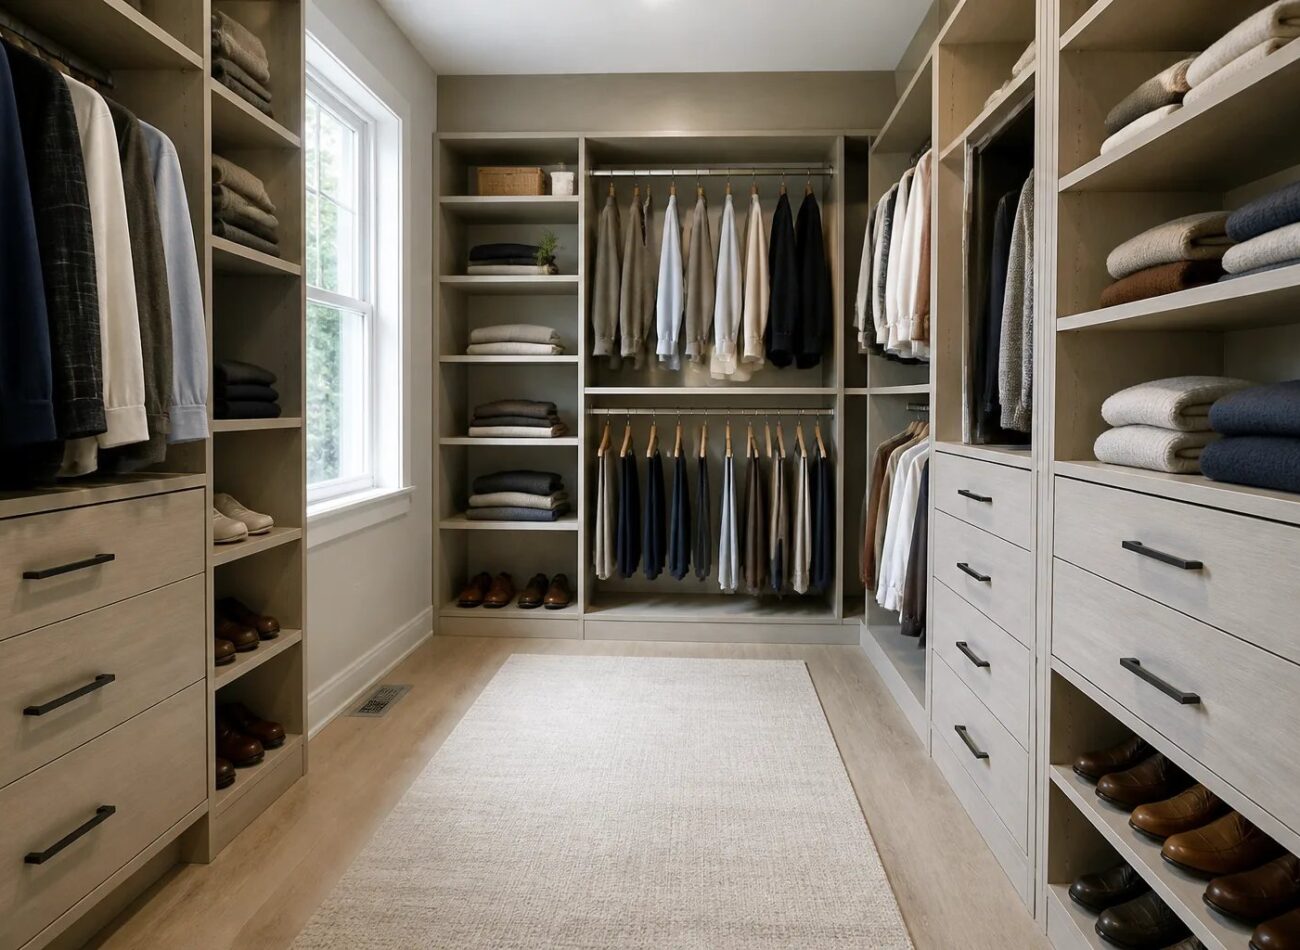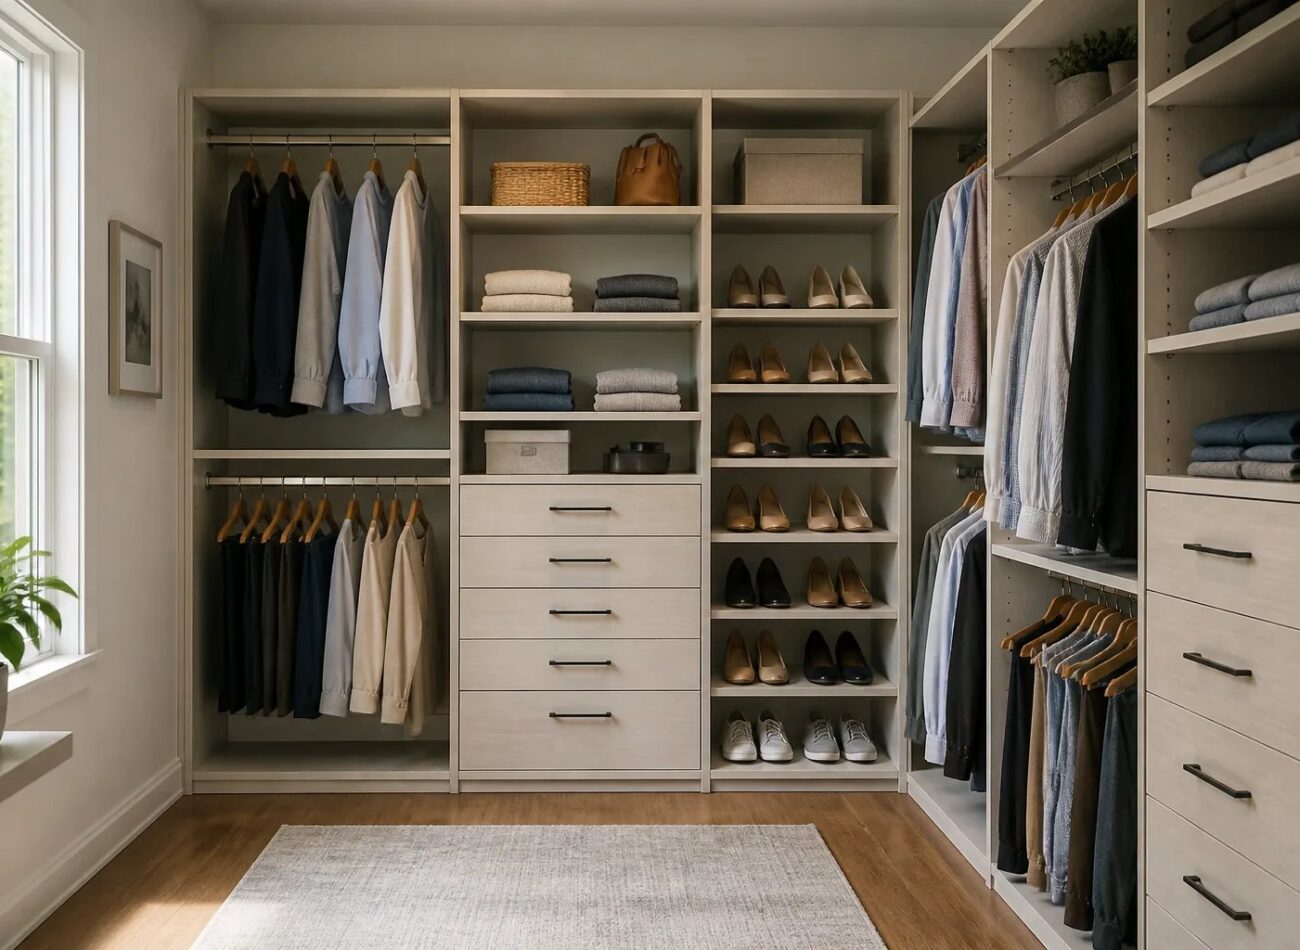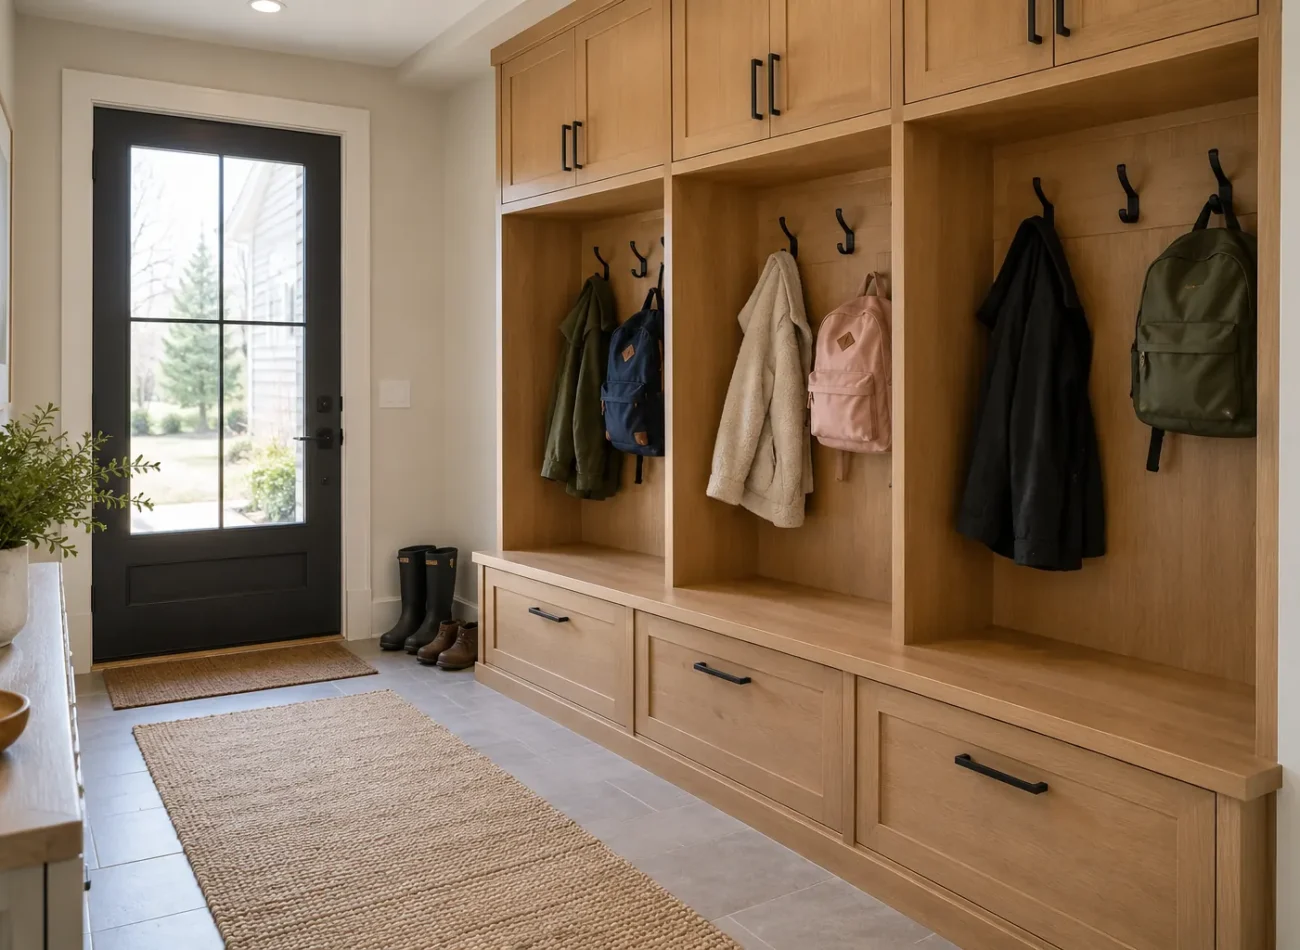
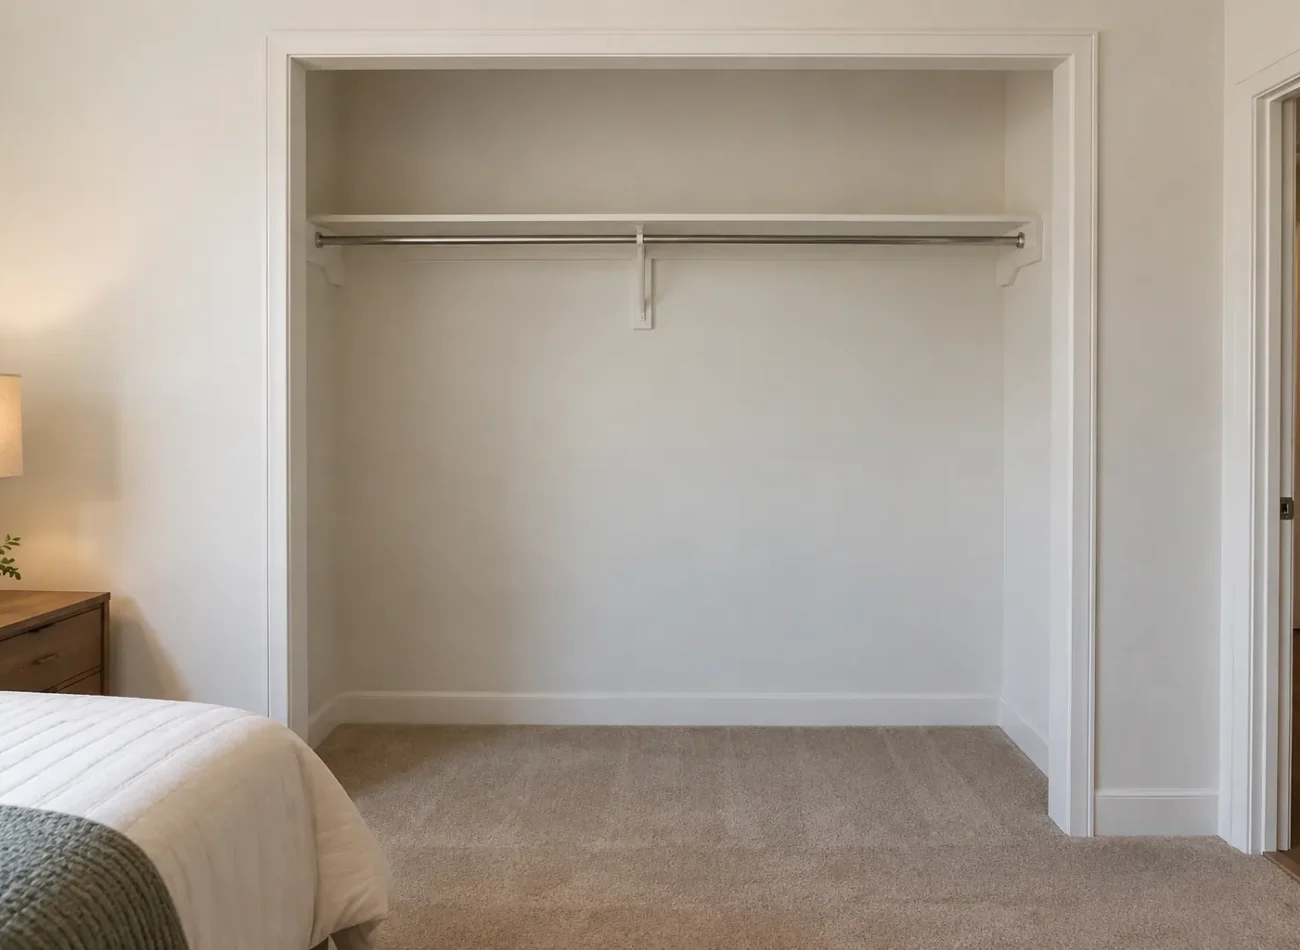
Bring a tape, sketch and photographs
Use a reliable tape measure and record measurements consistently in inches or millimetres, noting the unit. Make a rough plan view: walls, door locations, windows and any fixed obstructions. Label each wall so its photographs correspond to the sketch. A short video can supplement the record, but still photographs of each wall and the room entrance are easier to refer to when discussing a design.
Measure more than once and note if the results differ. Existing homes are not always perfectly square; dimensions near the floor and higher on a wall can vary. The point of homeowner measurements is to reveal the scope and likely constraints. Final dimensions should be verified on site before ordering or installation. Do not make irreversible changes based on an approximate sketch alone.
Measure width, depth and height in several places
For a closet cavity, record interior width across the back, near the opening and, where practical, at more than one height. Record depth on both sides, not only in the centre. Measure clear height from finished floor to the ceiling or the underside of any soffit. Note projecting baseboards, crown, trim and other details. For a walk-in, measure every wall separately and include the distance between opposing walls after accounting for existing protrusions.
In an irregular room, mark the narrowest relevant dimension. A panel run sized to the widest point may not fit where the wall bows or the floor rises. A rough drawing should identify alcoves, sloped areas and corners. Ceiling height matters for possible upper storage, yet upper space should be planned for what can actually be reached and used. Never assume height alone justifies more cabinetry.
Record the usable opening, not only the inside width
A reach-in may be wider inside than the doorway. Measure the framed opening and the side returns. Note how much of the interior is visible when each door is open. Sliding or bypass panels should be measured in both positions, including the overlap; hinged doors need their swing and handle projection considered. If doors might be replaced, photograph their frame and adjacent wall so the options can be discussed together with the organizer.
Drawer placement depends on this information. A drawer tower placed behind a side return or sliding panel may be impossible to use even when the interior dimension is adequate. Mark the accessible zones on your sketch. Our door and access guide explains why the opening can govern the interior design.
Mark every obstacle and necessary access point
Photograph and locate outlets, switches, vents, heating elements, plumbing access, attic hatches, windows, wall returns and any equipment that must remain serviceable. Note ceiling fixtures and the way light reaches the closet. Do not cover a vent or access panel with shelving simply because it is on a tempting wall. Existing wire shelving, rails or cabinets should be recorded if removal is part of the intended project.
Look for uneven floors, damaged surfaces or signs that wall preparation may be needed, without trying to diagnose concealed conditions from a photograph. Mention if painting, patching or trim work is desired; it may be a separate scope. In a wardrobe wall, outlets and baseboards may affect how the new piece meets the room. In a laundry or utility area, appliance and service clearances deserve their own review.
Measure the room around the closet
A closet design does not stop at its opening. Show the distance to the bed, dresser, adjacent room doors and the path people walk through the bedroom. A hinged door or a full-extension drawer may need standing room that a close piece of furniture removes. For a wardrobe, photograph the whole proposed wall plus both adjoining corners, floor and ceiling. Record the wall length, height and available depth before the furniture or circulation starts.
For a walk-in, mark the entrance and measure the aisle between potential storage walls. Do not rely on an abstract clearance figure. Test the route with the intended cabinetry depth, drawer movement and the number of people who use the room. A bench or island should be evaluated only after the storage and circulation are resolved.
Count the belongings the layout must hold
Physical measurements describe the container; an inventory describes its job. Count or estimate short hanging, long hanging, folded tops, trousers, shoes, bags and accessories. Note items that are unusually long, bulky or delicate. For a shared closet, make separate lists and identify shared categories. Measure some actual garments on their hangers to show the vertical space they need. Decide which belongings are daily, seasonal or occasional.
The inventory can reveal that the problem is not total volume. Perhaps there is sufficient hanging but no convenient drawer space, or deep shelves hide folded clothes. A reach-in might be crowded by linens that belong elsewhere. Designing from actual use helps select hanging, shelves and drawers before accessories are considered.
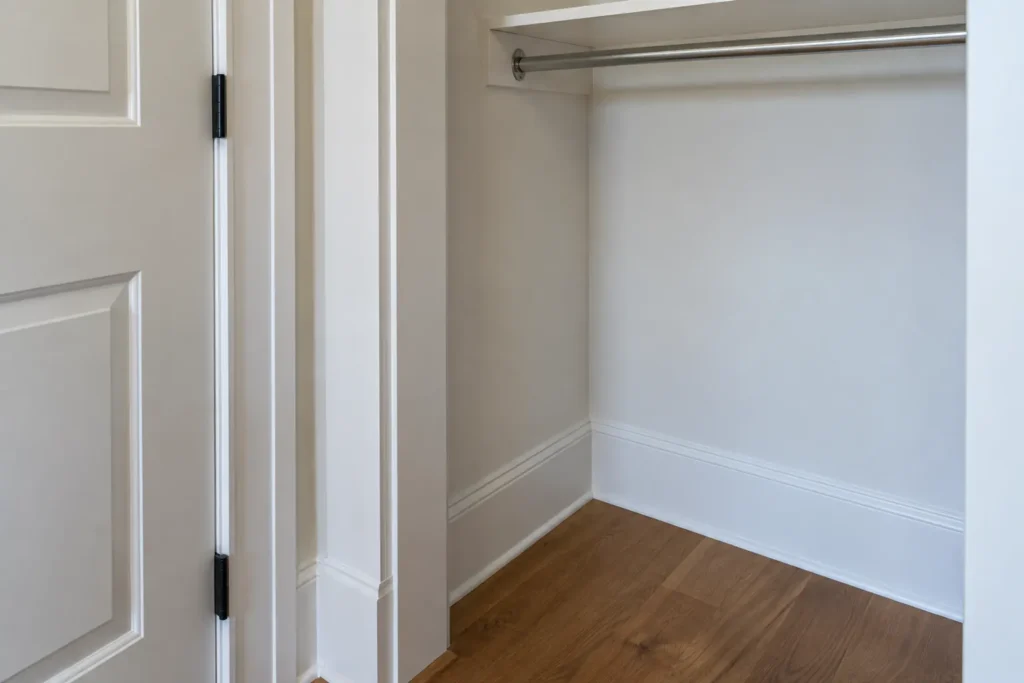
Add photographs that answer the important questions
Take one wide view of the closet and several straight-on wall views. Show doors closed, open and, for sliders, in both operating positions. Photograph the room looking back from the closet to capture nearby furniture and routes. Include close-ups of unusual trim, slopes, vents or obstacles with a tape in view for scale. Good light and an uncluttered image help, though there is no need to empty the room completely for an initial inquiry.
If a multi-room project is being discussed, keep each room’s images and notes separate. The same finish may work across rooms, but a pantry, mudroom and closet cannot share a single component plan. A brief description beside each photo avoids confusion when the spaces have similar walls.
Clarify preferences without prescribing every component
Share what is failing now and what the room should feel like after the work. Do you want clothing visible, enclosed or mixed? Are drawers a priority? Is there a finish direction to coordinate with flooring or trim? Are there budget priorities or features to defer? Reference photographs can communicate proportions, but your room’s actual geometry and belongings should decide the final arrangement.
Do not insist on an island because the reference photograph has one if it would block the aisle. Likewise, a full wall of cabinetry may be less helpful than preserving bedroom space. Communicate the functions you value and any non-negotiable access needs. The designer can then propose an arrangement that responds to them instead of replicating a generic system.
Make a compact measurement note
A simple note can list wall A, B and C with width, height and any change near the floor; the door opening; interior depth; and nearby furniture distance. Add a line for obstacles and a line for the categories to store. This need not be a technical drawing. Clear labels help someone else understand which measurement belongs to which wall and which dimensions are approximate.
If access is limited, do not climb or dismantle anything just to obtain a number for an initial request. Mark it as unknown and include a photograph. A later site visit can verify difficult dimensions. Accuracy is valuable, but false precision from a hard-to-reach corner can be worse than a clearly identified estimate.
Avoid common measurement mistakes
Do not report only the widest wall dimension or assume the floor and ceiling are parallel. Do not forget door trim when measuring an opening or treat a side return as usable front access. For a wardrobe, a room wall may be long enough while a bed or doorway still makes the intended depth unsuitable. Record obstructions with their distance from a consistent corner so the notes can be interpreted.
Label approximations explicitly. A rough ceiling height from a safe position is useful for a first discussion; a fabricated precision is not. If a vent or access panel is partly hidden, mention it. These habits help an initial conversation focus on the actual constraints while reserving final technical measurements for verification.
Check clearances with movement, not a number alone
Write down the space from the front of a proposed unit to the opposite furniture or wall, but test what happens there. A drawer extends, a door swings, and a person must stand and reach. Two people may use a walk-in at once. A dimension that seems generous while nothing moves may feel tight during the actual routine. Take photographs with the existing door fully open and note furniture positions that will remain.
For a reach-in, move sliding panels to both ends and observe the visible width. For a wardrobe, imagine each proposed front open while the bed is occupied or another room door is used. Those observations can rule out an appealing but awkward configuration before detailed design begins.
What happens after the preliminary measure
With the sketch, images and inventory, an initial discussion can identify whether the project is a reach-in, walk-in, wardrobe or a combination. The next steps may include confirming dimensions, developing the component layout, selecting materials and defining installation scope. A preliminary estimate should state what is assumed and what awaits verification.
Do not treat a remote measurement as an approved cutting list. Check final drawings against the confirmed room and discuss any scope changes arising from site conditions. Clear preparation makes those steps easier and helps avoid surprises. To begin a Milton storage project, send your photos and rough measurements along with the main problem you want the closet to solve.