

1. Tell Us About the Space
Begin with the room, the belongings and the problem. Describe whether it is a reach-in, walk-in, wardrobe wall, mudroom, pantry or another storage area. What repeatedly ends up on the floor? Which items are hidden, cramped or difficult to retrieve? Who uses the space? Include daily categories alongside occasional ones, and say whether existing furniture or doors should remain. For a multi-room project, list the rooms separately so their needs do not blur together.
Photographs from several angles help reveal openings, adjacent furniture and traffic paths. A picture of the doors open can be more informative than a carefully framed closed view. Share rough dimensions if available, but do not worry about making them fabrication-ready. An investment range and preferred priorities can help focus the first discussion. At this stage, the aim is to understand what a successful room must do, not to force a fixed layout before its constraints are known.
2. Measure & Review
A proper review records the usable width, height and depth along with openings, side returns, ceiling changes and floor conditions. Doors must be evaluated in operation, not merely shown on an elevation. Baseboards, trim, outlets, vents, windows, appliance clearances and utility access can change where storage fits. In a garage, vehicle and walking clearance matter; in a pantry, the door and the size of food or appliances matter; in a bedroom, the bed and dresser matter.
Measurements make it possible to separate nominal room size from accessible storage. A recess can be wide but have a narrow opening. A wall can be tall but have a soffit or outlet that complicates the upper area. If removal or preparation is needed, its scope should be identified. Any uncertain existing condition should be noted rather than assumed away. This stage turns attractive possibilities into a practical boundary for design.
3. Define Storage Categories
Now group belongings by how they are used. For a closet, count long and short hanging, folded clothes, shoes, bags, accessories and seasonal overflow. For a mudroom, distinguish daily coats, wet boots, school bags and sports equipment. For an office, separate work surface, files, printer, technology and display. Frequency matters: daily items should have the simplest access, while occasional possessions can use higher or less central space.
This stage can reveal that a category belongs in another room. Moving winter boots from a bedroom to the entry can make a closet plan simpler. A child may need lower reachable zones now with adjustable shelves for later. Two adults may need unequal hanging and drawer allocations. Note the dimensions or unusual shapes of bulky objects. The purpose is to assign space based on real inventory rather than duplicate the contents of a generic room photograph.
4. Develop the Layout
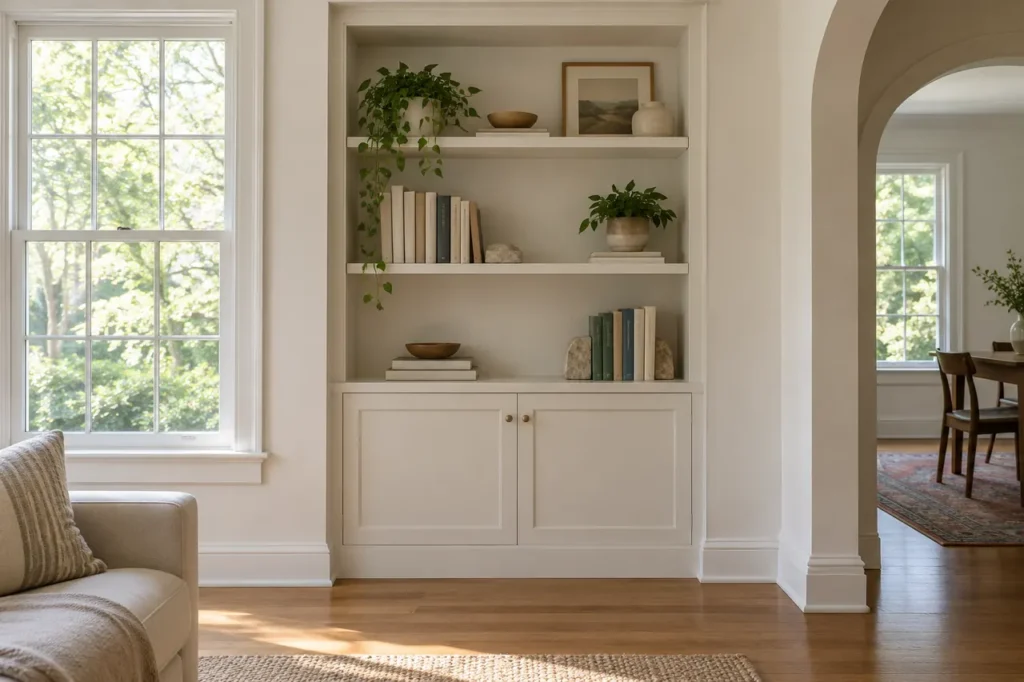
The component plan follows the categories and the measured boundary. Hanging, shelves, drawers, closed fronts and accessories are positioned with door movement and clearances in mind. A reach-in drawer bank must be accessible with its doors open. A walk-in should retain comfortable circulation and need not have an island. Pantry shelves should allow contents to be seen, while a library needs shelf support appropriate to books. Open and closed areas should reflect both use and the visual character of the room.
Review the design as a sequence of actions: enter, open, retrieve and return. Can two users pass if needed? Does a pull-out clear an opposite cabinet? Does a lower drawer open over a baseboard or floor transition? Are frequent items at a comfortable height? If a component seems to exist only to fill a gap, revise it. The layout should make sense in plan view and elevation, with balanced proportions and working clearances.
5. Confirm Scope & Finish
Once the layout works, settle the visible surfaces and the boundaries of the work. Compare materials and finishes in the context of flooring, trim, wall colour and lighting. Confirm front style, handles, exposed ends and how the storage meets existing construction. Identify whether doors are retained or replaced; whether existing organizers are removed; whether disposal, patching, painting or other preparation is included; and whether any electrical coordination is needed for lighting. Do not treat unlisted related work as automatically included.
The written scope should describe the rooms, components, material direction, hardware, inclusions, exclusions and the process for changes. Review the estimate against the final layout rather than an earlier drawing. If budget calls for phasing, identify which rooms or optional features can wait without compromising the first stage. A clear agreement gives the homeowner a fair basis for comparing the proposed result and understanding what will be installed.
6. Installation & Walkthrough
Before installation, confirm access to the rooms, the agreed schedule and what belongings need to be moved. The work should be checked against the approved scope and site conditions. During a walkthrough, operate doors, drawers and pull-outs, inspect how shelves and fronts meet the room, and confirm that vents, outlets, appliances and maintenance points remain accessible as planned. Test the storage with the intended categories in mind, not only as an empty elevation.
Ask how adjustable parts are moved and how finishes should be cared for under their specific material specification. If an issue is found, document it clearly against the agreed scope. Then return belongings by category and observe the routine over time. A completed closet is successful when a person can find, use and put away what belongs there, and when the room feels comfortable at normal occupancy rather than only when it is photographed empty.
What to prepare before beginning
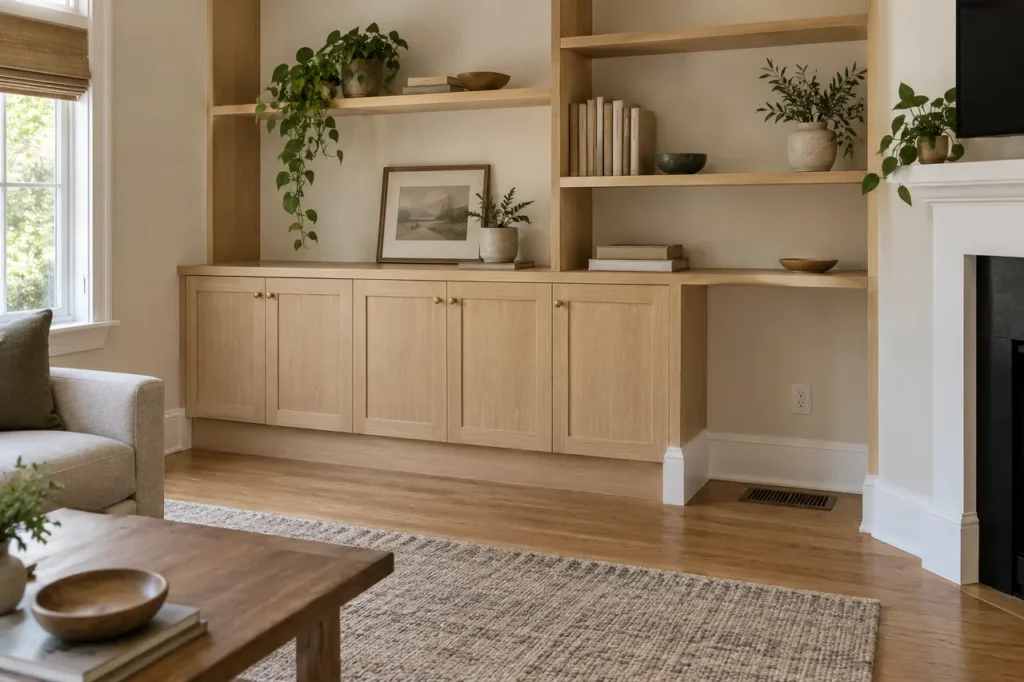
A helpful starting packet is simple: photos of each room, approximate measurements, a list of essential storage categories, notes on doors and furniture that stay, and your main frustrations. If a space has a sloped ceiling, unusual trim, vent, outlet or appliance, include a close view. For shared storage, describe each user’s needs separately. For several rooms, rank the order in which improved function would matter most.
Avoid buying specialized accessories before the main layout is resolved. Do not assume a single finish board will look identical under every room’s light. If cost is a concern, identify the functions you would protect first: clear access, enough hanging, appropriate drawers or a workable entry zone. See the design options, finish guide and cost factors before requesting a consultation.
Keep the approved design tied to daily use
Drawings and specifications should make it possible to check the result against the original problem. If the goal was to move folded clothing out of a dresser, the approved drawer allocation should correspond to that volume. If the problem was blocked access behind bypass doors, the final door position and pull-out travel should be clear. If several rooms are involved, review them individually so a strong overall finish does not conceal a weak utility layout.
There may be a change after site review or while a room is prepared. A hidden obstruction, altered inventory or preference for a different front can change a decision. Revisit the practical consequences and written scope before proceeding. A revised door can affect drawers; a new drawer bank can affect hanging; a different finish can affect the cost and meeting details. The sequence is useful precisely because it gives those choices a place to be checked before they become expensive or awkward in the finished room.